Ever wanted to have your own source of honey? Honey and beeswax have so many uses around the homestead and this is something my wife has wanted for quite some time. So, with our anniversary just around the corner I thought what better to make than a top-bar bee hive!
This is part two of the series on how I am building this hive....
I began by marking the angles on each side piece to match the angle of the end pieces. Using the table saw I matched the angle I had marked and ripped each side board at that specific angle. I was then ready to start assembly.
I placed the end piece on the level surface of my workbench and propped the side pieces up against it at a right angle. I pre-drilled and countersunk each hole (4 per side) and attached the ends to the sides using 2 inch deck screws and wood glue. While the Glue was drying I started working on the legs.
I clamped the legs in place on the end of the hive to match the angle of the sides. I then marked the extra that was hanging to be cut off. Once these were cut to length I then did some finish sanding on the legs and the main body of the hive to clean things up. The legs were used as a temporary stand and a coat of spray lacquer was applied to the hive and legs.
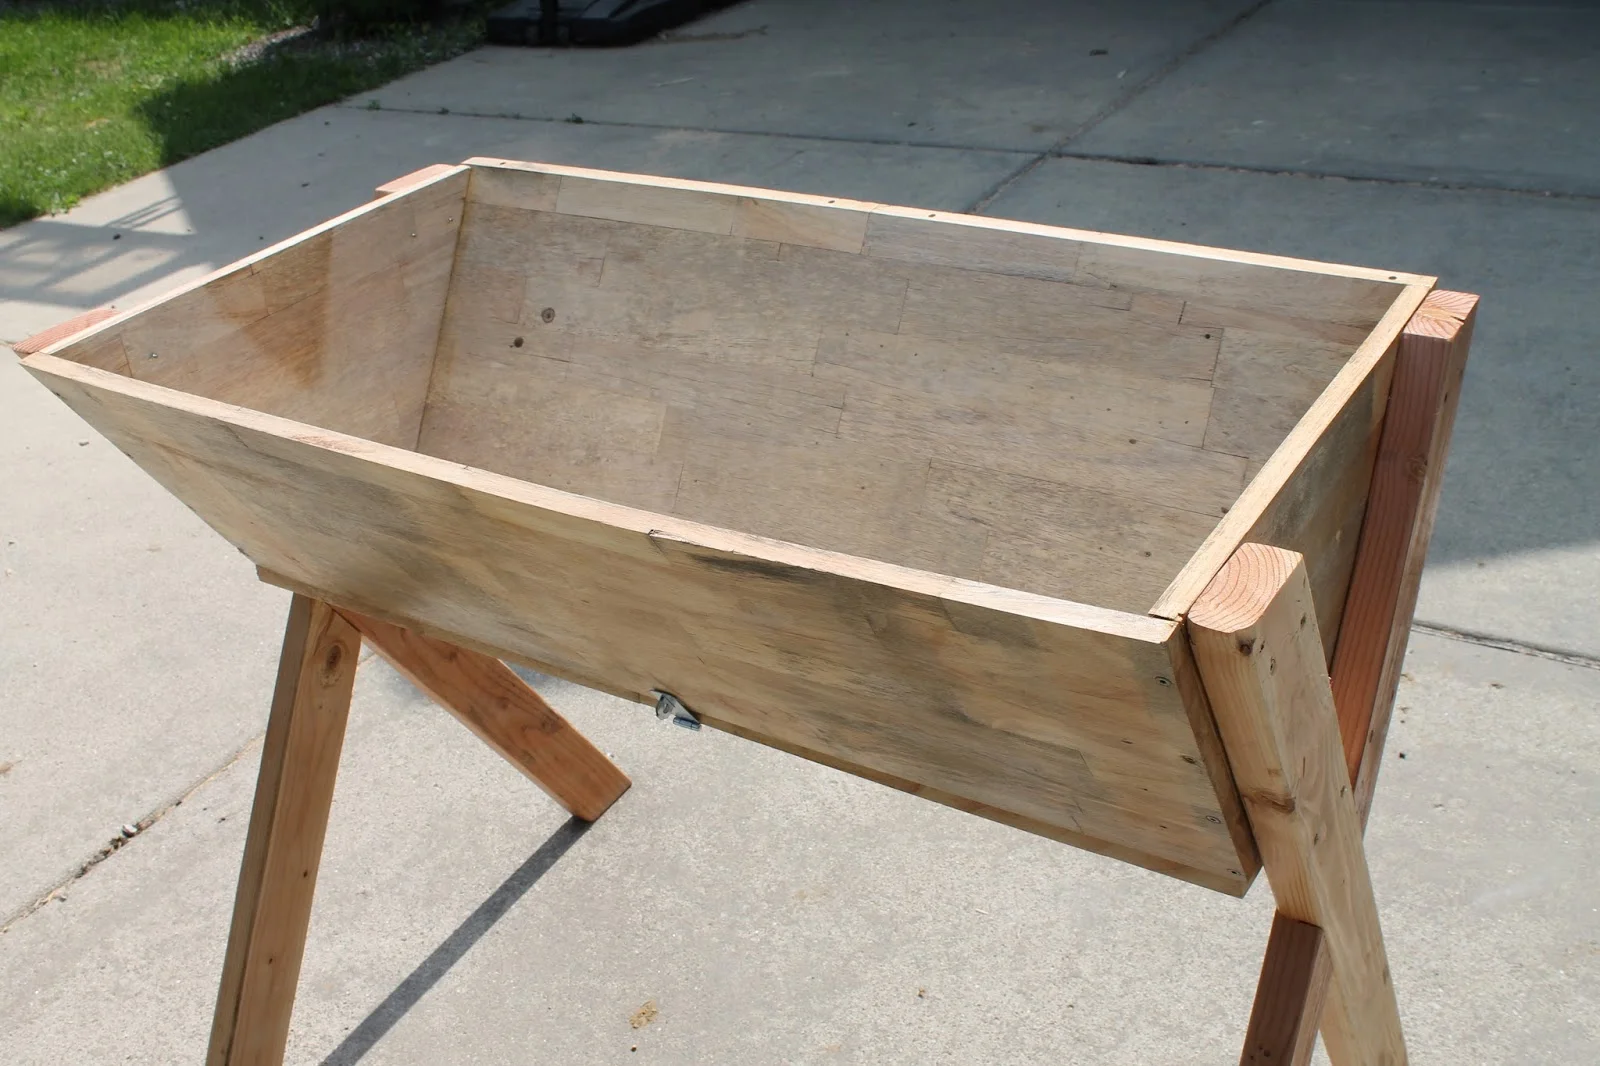
The legs were attached to the hive using 2.5 inch deck screws and pre-drilled holes. I did not use any wood glue here in case I want to take the legs off or make changes to this later. At this point all that is left in this step was to connect the bottom of the hive.
The bottom of the hive will need to open and close so that it can be open in Summer to allow ventilation. I will also install a piece of hardware cloth to keep pest out while the bottom is open. I attached two hinges and a small latch to the bottom panel and then connect it to the hive.
Once the lacquer had dried I did some light sanding on the surface and then applied a second coat on the entire hive. I am not applying any finish to the inside of the hive as I am not sure if this would be good for he bees. The inside will be kept dry and should not need any sealers anyway.
Tools used in this video -
Dewalt chisel set - http://amzn.to/1BbC4zv