honey bees

Top Bar Bee Hive - Made From Reclaimed Material Part 3

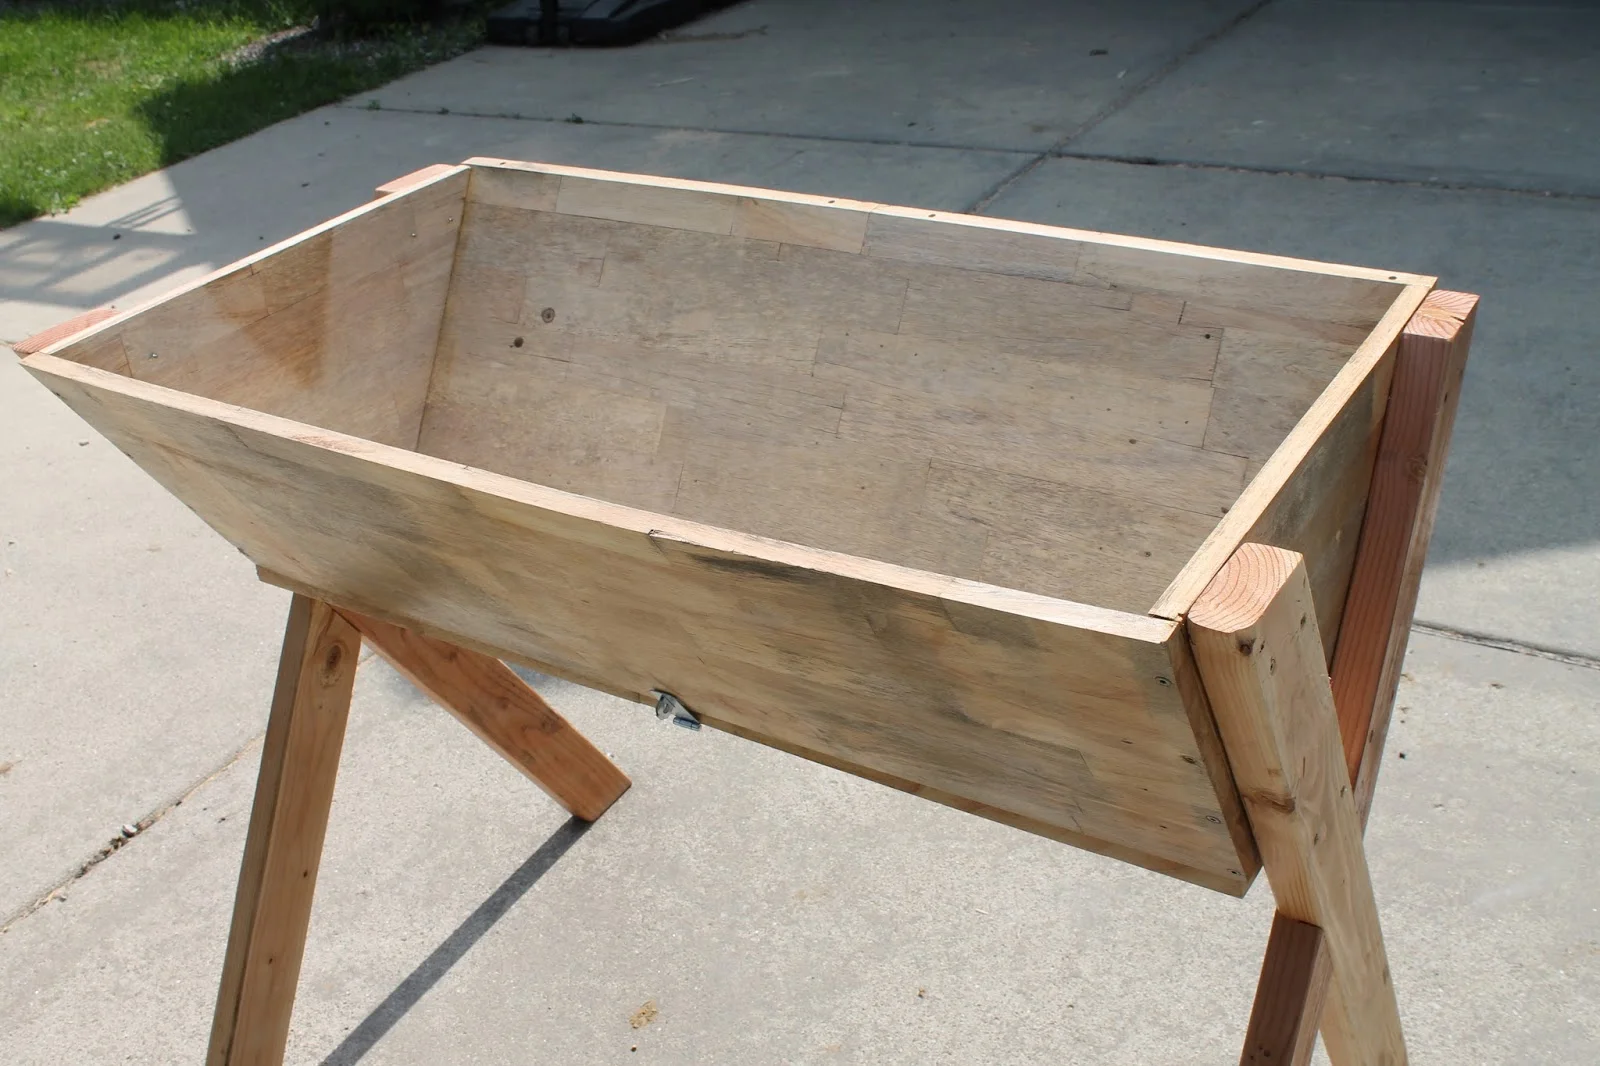
The bees are coming! The bees are coming! It has been almost a year since I started this project and it has been sitting in the garage all winter. It is now time to get out the hive and see what is left to get done before our bees arrive in two weeks! 

Things to do: Construct a roof, add wire mess to the bottom, make the top bars, add a landing pad and drill entrance holes, and paint and seal the roof. With my mental list of things ready I think I'll jump into the roofing first since this is the most complicated and time consuming part left. 

I had already cut both roof ends out of a piece of the old picnic table that I had cut last year. I cut an angle that would fit the pieces of wood I had and left about a 2" flat end on each piece. This will allow for a runner to connect the two pieces together to form the roof frame. 

The roof supports were then attached and I drilled the holes for the hinge and the latch. I am using whatever I have laying around for this project to keep the cost as close to $0 as possible. I happen to have an extra gate hinge and a locking latch from something I planned to do last year, what was that again? Who knows:)

Next up is the top bars. There is a lot of info on the web about how these should be designed but after some research I choose 1.5" for the width. I have a bunch of extra pallet slats leftover from my raised beds this year so, more free wood, yay! I lipped about 1/4" off of one edge of each slat and then ripped them all down to 1.5"s. Each top bar was cut to length to fit inside the lid with a small amount of play for expansion and contraction. I also cut a 15 degree bevel on the ends to help the lid close with the bars in place. 

I added a roof support across the center of the frame and also two runners near the peak to support the plywood. A piece of cheap 1/2" plywood was cut to fit each side of the roof top with an over hand of about an inch on all sides. I beveled the top edge to match the angle of the roof so that each piece of plywood fits together nicely with minimal gap. Wood glue and brad nails were used to secure the roof panels to the frame and then a coat of leftover paint and some spray lacquer to seal it up.

The landing pad/launch pad was made of another piece of scrap wood from the picnic table, two pieces glued together actually. This was cut on an angle to match the hive wall and then screwed into place with deck screws. Three 3/4" holes were drilled 2" apart just above the center of the Launchpad. 

The hive is coming along nicely and is just about ready. I still need to come up with a mess for the bottom and finish the top bars, build a feeder, and follower boards. Stay tuned for part four! 

Top-Bar Bee Hive From Reclaimed Materials Part 2

Ever wanted to have your own source of honey? Honey and beeswax have so many uses around the homestead and this is something my wife has wanted for quite some time. So, with our anniversary just around the corner I thought what better to make than a top-bar bee hive!

This is part two of the series on how I am building this hive....

I began by marking the angles on each side piece to match the angle of the end pieces. Using the table saw I matched the angle I had marked and ripped each side board at that specific angle. I was then ready to start assembly. 

I placed the end piece on the level surface of my workbench and propped the side pieces up against it at a right angle. I pre-drilled and countersunk each hole (4 per side) and attached the ends to the sides using 2 inch deck screws and wood glue. While the Glue was drying I started working on the legs. 

I clamped the legs in place on the end of the hive to match the angle of the sides. I then marked the extra that was hanging to be cut off. Once these were cut to length I then did some finish sanding on the legs and the main body of the hive to clean things up. The legs were used as a temporary stand and a coat of spray lacquer was applied to the hive and legs. 

The legs were attached to the hive using 2.5 inch deck screws and pre-drilled holes. I did not use any wood glue here in case I want to take the legs off or make changes to this later. At this point all that is left in this step was to connect the bottom of the hive.

The bottom of the hive will need to open and close so that it can be open in Summer to allow ventilation. I will also install a piece of hardware cloth to keep pest out while the bottom is open. I attached two hinges and a small latch to the bottom panel and then connect it to the hive. 

Once the lacquer had dried I did some light sanding on the surface and then applied a second coat on the entire hive. I am not applying any finish to the inside of the hive as I am not sure if this would be good for he bees. The inside will be kept dry and should not need any sealers anyway. 

Tools used in this video - 

Dewalt chisel set - http://amzn.to/1BbC4zv

Top- Bar Bee Hive From Reclaimed Materials - Building the Base Part 1

Ever wanted to have your own source of honey? Honey and beeswax have so many uses around the homestead and this is something my wife has wanted for quite some time. So, with our anniversary just around the corner I thought what better to make than a top-bar bee hive!

We chose to go with a top bar because they are easy to build, maintain, and are great for beginners (or so I have heard). The trick is, we have a budget of next to nothing for this project and the wife and I vowed to get each other something homemade for each other this year. I immediately started thinking of where I could get some free wood for this project. Ah yes! That old kitchen table/picnic table that has been sitting outside in the rain for three years, perfect! I grabbed the table top and benches and made my way to the garage. 

The first step for me was to get all of the wood cleaned up and cut away all of the edges and unusable wood. Once this was done I stacked it all up and started planning out some measurements. I have read that the hive should be able 12" deep, about 10 inches wide at the bottom, 120 degree angle coming up and as long as 48 inches. After some careful planning I thought I could get pretty close to these measurements with the wood that I had. 

I started by cutting the end pieces to size ( ended up with about 8.5" bottom, 120 degrees up on each side. The length that worked for the wood I had was about 42 inches with sides that were about 15" wide. In order to make the sides I needed to glue a few pieces of wood together using a make shift clamping system on my workbench. For some of the longer pieces (bottom) I glued two boards together end to end using dowels to strengthen the glue joints. 

The next step was a lot, I mean a lot, of sanding. I had to grind off years of weathering and stains ( I used the benches as saw horse for awhile so they were pretty beat up). The wood from this table looks like it is birch or maybe poplar and it really is a nice looking wood once it is cleaned up. I also used a glue and sawdust mix to fill in any holes, cracks, or other damaged areas and then sanded them flat. 

While the glue was all drying I started in on the legs. I am using 2X4's for the legs and wanted to be a little different than the other hives I have seen out there. I aligned the legs to match the angle of the end pieces of the hive and marked them where they crossed. I then used a circular saw to mill out the area where they crossed down 3/4" on each leg. I then chiseled out the area smooth so that the legs will fit nicely together and make a crossed leg similar to a baby manger (think Jesus in Bethlehem). I then secured these together with glue and clamps and let them set up. 

That takes care of all of the prep work and all I could fit into one video. Next up will be assembly and finishing touches on the main part of the hive. 

Getting started with beekeeping? Check out these items on Amazon - 

Protective suit - http://amzn.to/1dZ4frl

Smoker - http://amzn.to/1MjT3Qu

Starter tool kit - http://amzn.to/1T8hmpR

Starter feeder - http://amzn.to/1MjTaLY

General Store - http://astore.amazon.com/simpsubulivi-20